This page describes how to run an end-to-end test using a demo app and the Google Play Console.
Steps
To download the SDK, run the demo app, verify the app is working correctly, and view frame timing information from the app in the Google Play Console, do the following:
- Download the SDK .zip file and unzip it.
- Build and run the demo app.
- Run the monitor app.
- Create a release build.
- Run the release build.
- View the graphs in the Google Play Console.
Build and run the demo app
Run the APT Insights Demo app in Android Studio to make sure everything
builds correctly. This project uses CMake for native code building and shows how
to use the gamesdk.cmake file, which is the easiest way to get started.
To run the demo app, do the following:
- Extract the .zip file contents to a folder.
- Open Android Studio.
- Click File > Open and select
gamesdk/samples/tuningfork/insightsdemo/build.gradle. - Wait for Android Studio to sync the project.
- Connect a device (or create a virtual device) to run the sample. Enable developer options and USB debugging on the device.
Select the target device and click Run
 .
For more information, see Build and run your app.
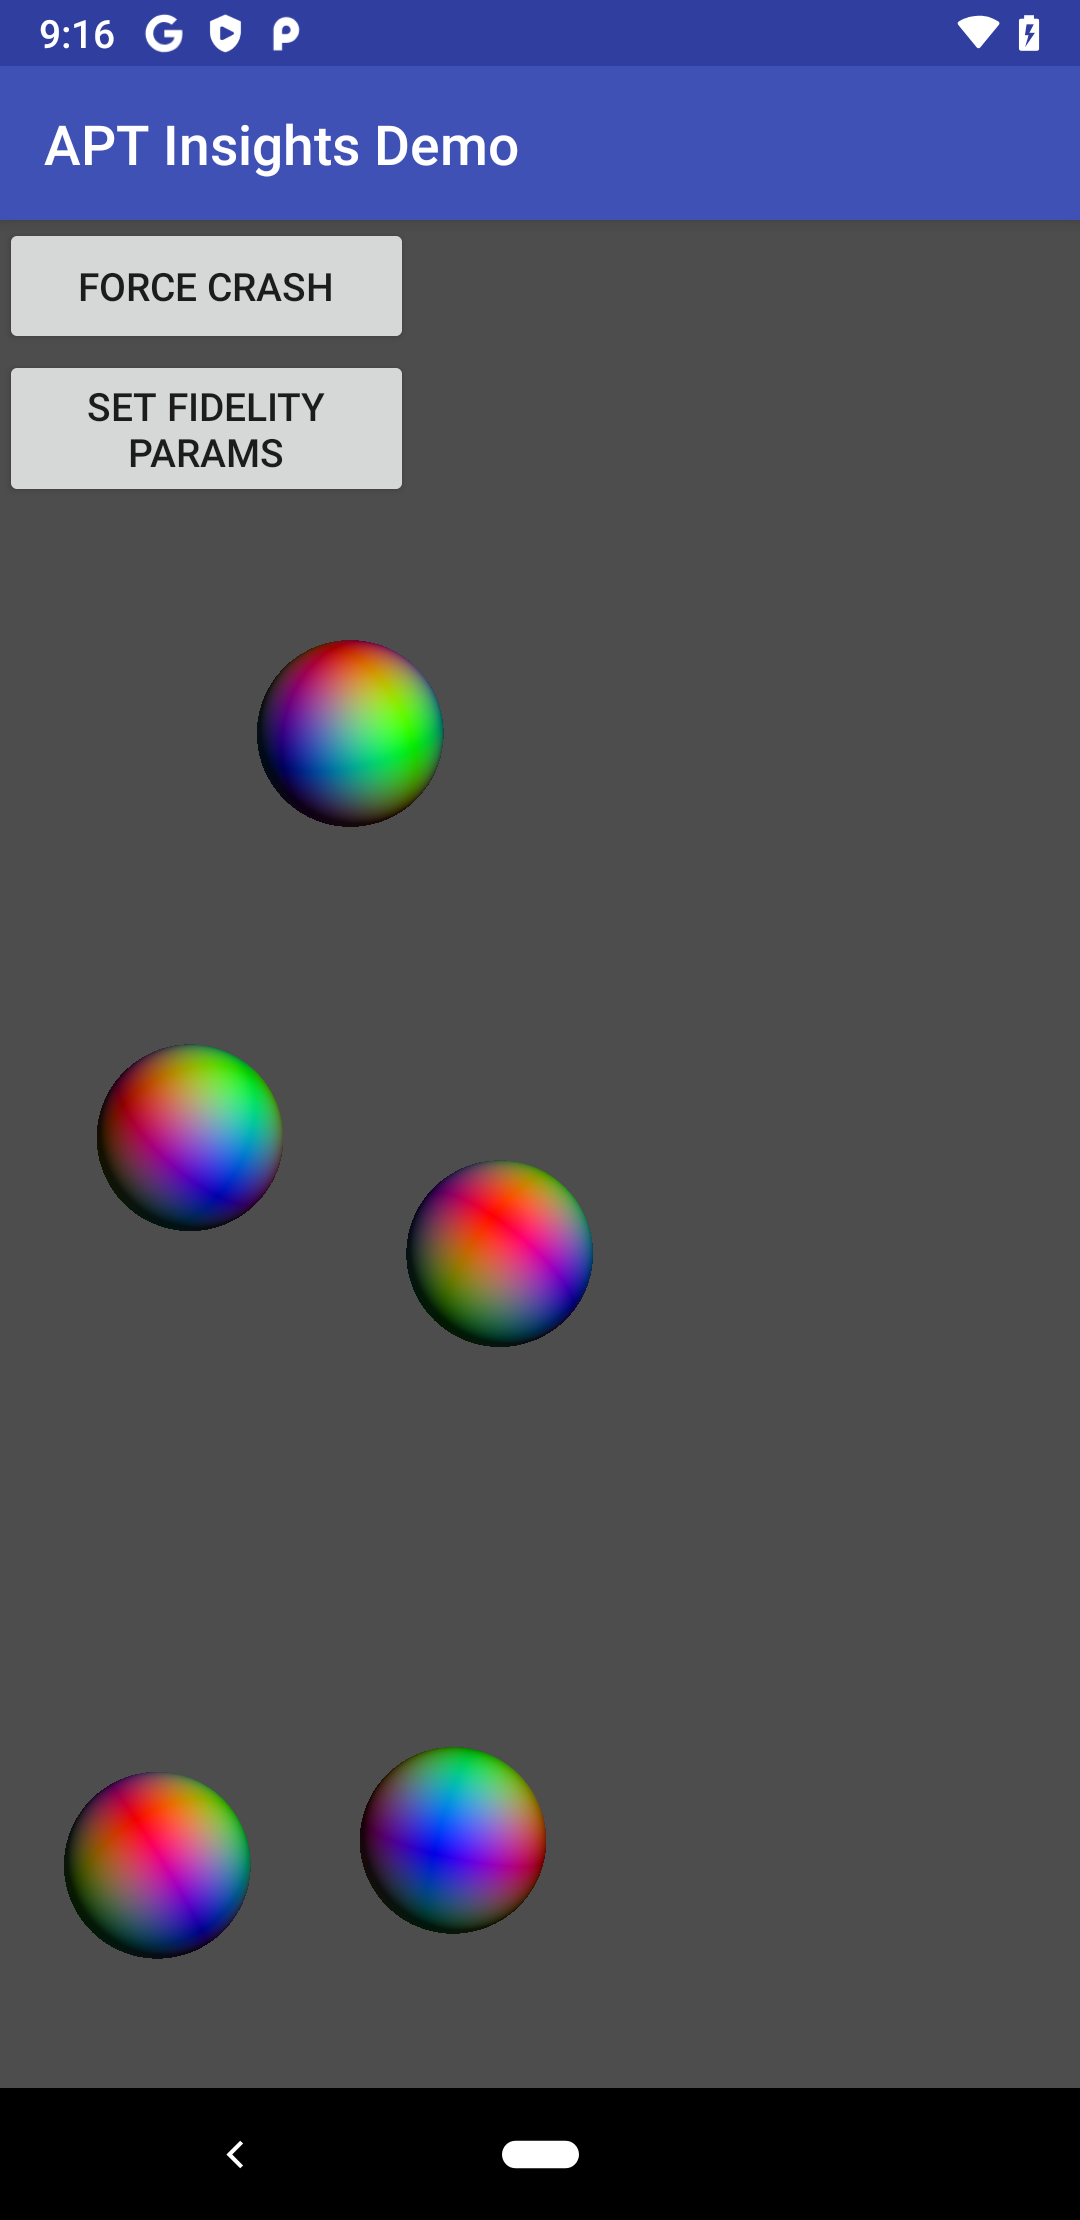
Figure 1. Test app running successfully The sample APK should build and install on the target device. If you encounter errors, check the following:
- You have a supported version of the Android
SDK; see the
compileSdkVersionfield in the app modulebuild.gradlefile for more information. You can update the SDK version from the SDK Platforms tab in the SDK Manager. - You have a supported version of the Android
NDK; see the
ndkVersionfield in the app modulebuild.gradlefile for more information. You can install a specific version of the NDK from the SDK Tools tab in the SDK Manager. - The
local.propertiesfile in the project does not have an entry forndk.dir. This location is specified by Android Studio and uses the NDK version from above. If you have this entry, clear the entire line. - After any build setting change, clean the project (Build > Clean Project) and refresh the linked C++ projects (Build > Refresh Linked C++ Projects).
- You have a supported version of the Android
SDK; see the
Run the monitor app
With a debug build of the demo app or any other Tuning Fork-enabled app,
you can configure the app to send and receive data from a local endpoint rather
than the Google Play server. To do this, set the endpoint_uri_override in
the Tuning Fork settings:
#ifndef NDEBUG
   settings.endpoint_uri_override = "http://localhost:9000";
#endif
You must also include the following permissions in the AndroidManifest.xml
file:
<uses-permission android:name="android.permission.INTERNET" />
<uses-permission android:name="android.permission.ACCESS_NETWORK_STATE" />
The demo app already has these changes (see insightsdemo.cpp).
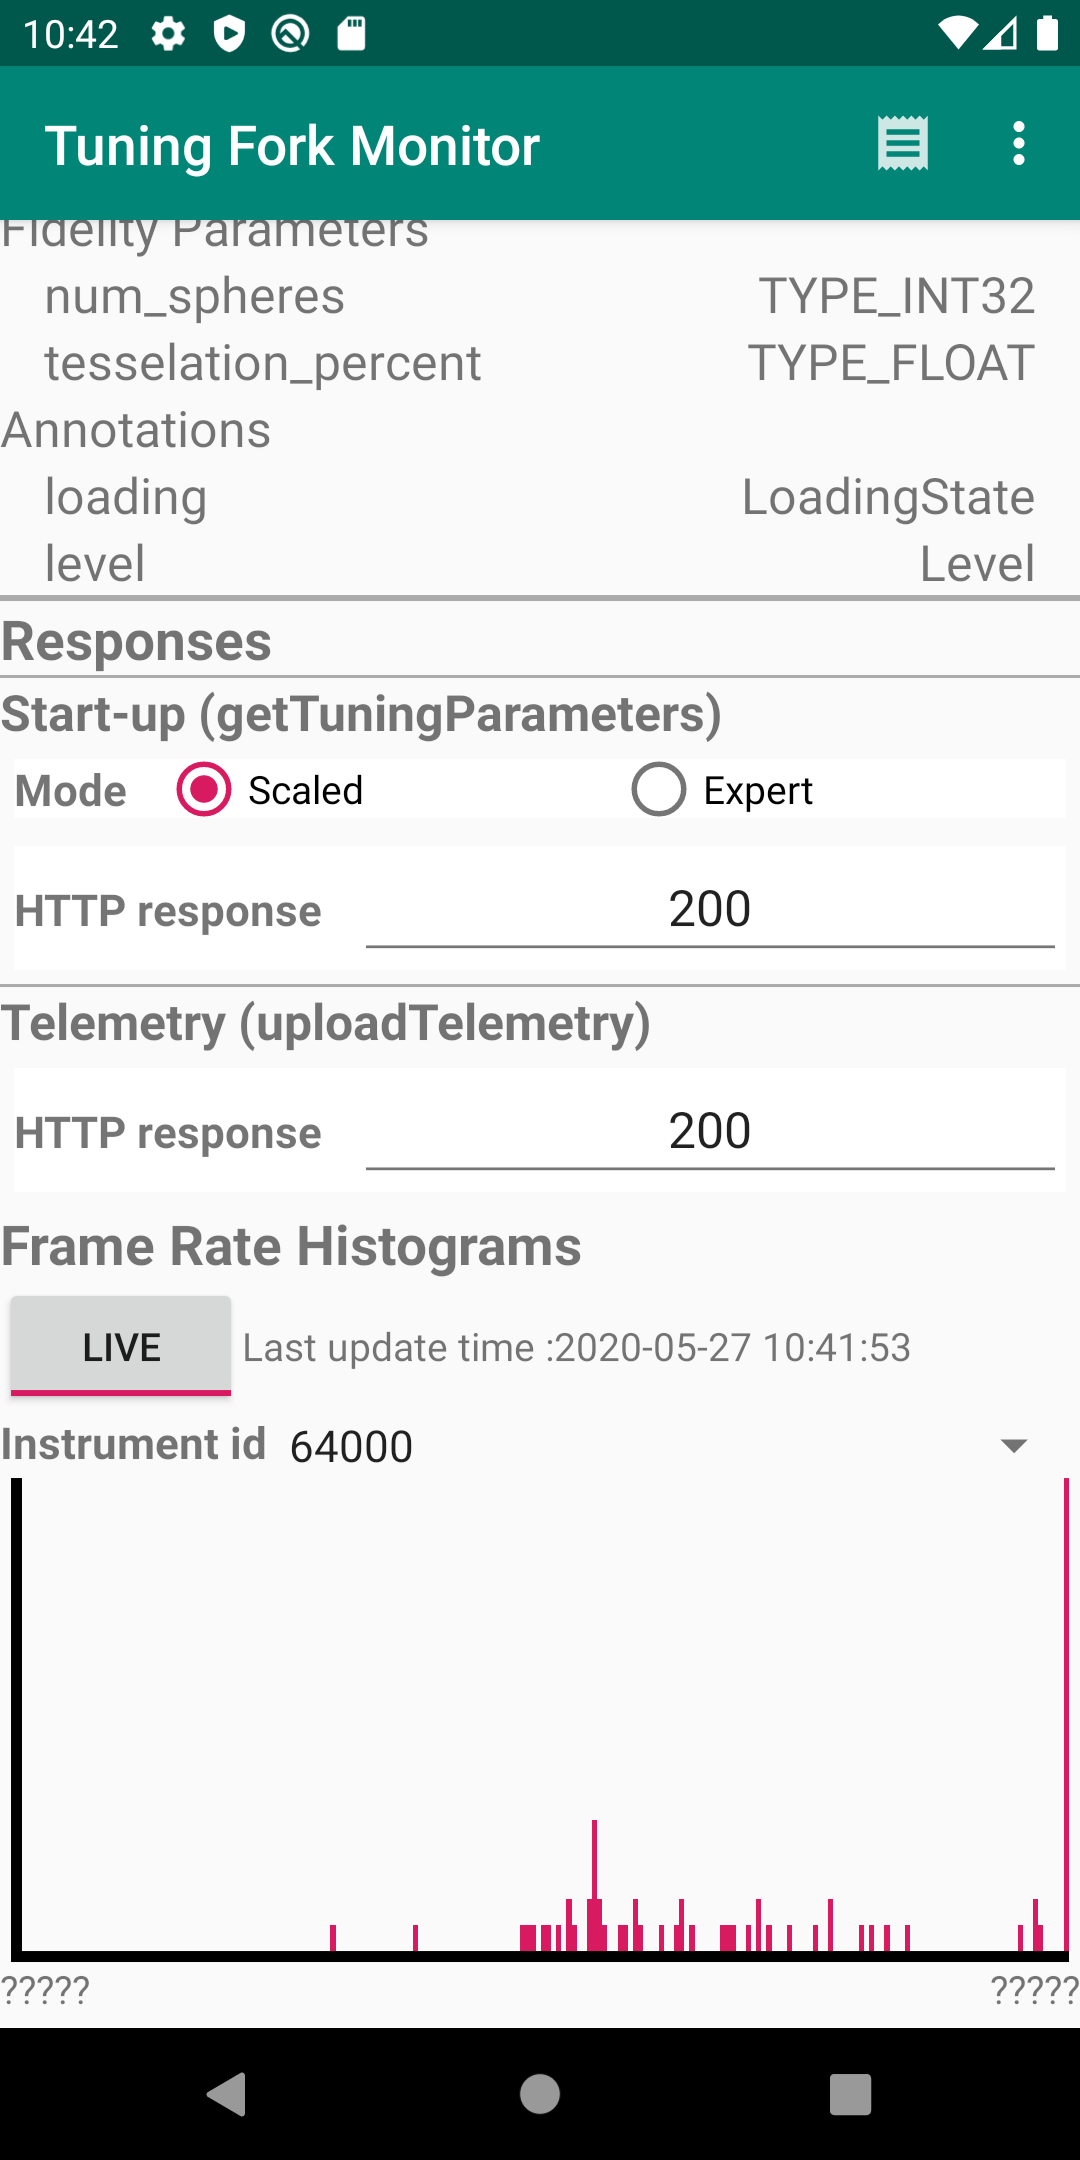
You can use this feature to verify that an app is sending and receiving the proper data. To verify this, run the demo app and the Tuning Fork Monitor app at the same time. This monitoring app acts as a local server and displays the data that a Tuning Fork-enabled app produces.
To run the monitoring app and demo app at the same time to verify that the demo app is working properly, do the following:
- Install the Tuning Fork Monitor app APK on the target device using
adb:
adb install gamesdk/gamesdk/apks/tools/TuningForkMonitor.apk
- Open the monitoring app.
- Press the Android Home button to send the Tuning Fork Monitor app to the background on the device.
- Run the demo app again in the foreground for about 30 seconds.
- Switch back to the Tuning Fork Monitor app.
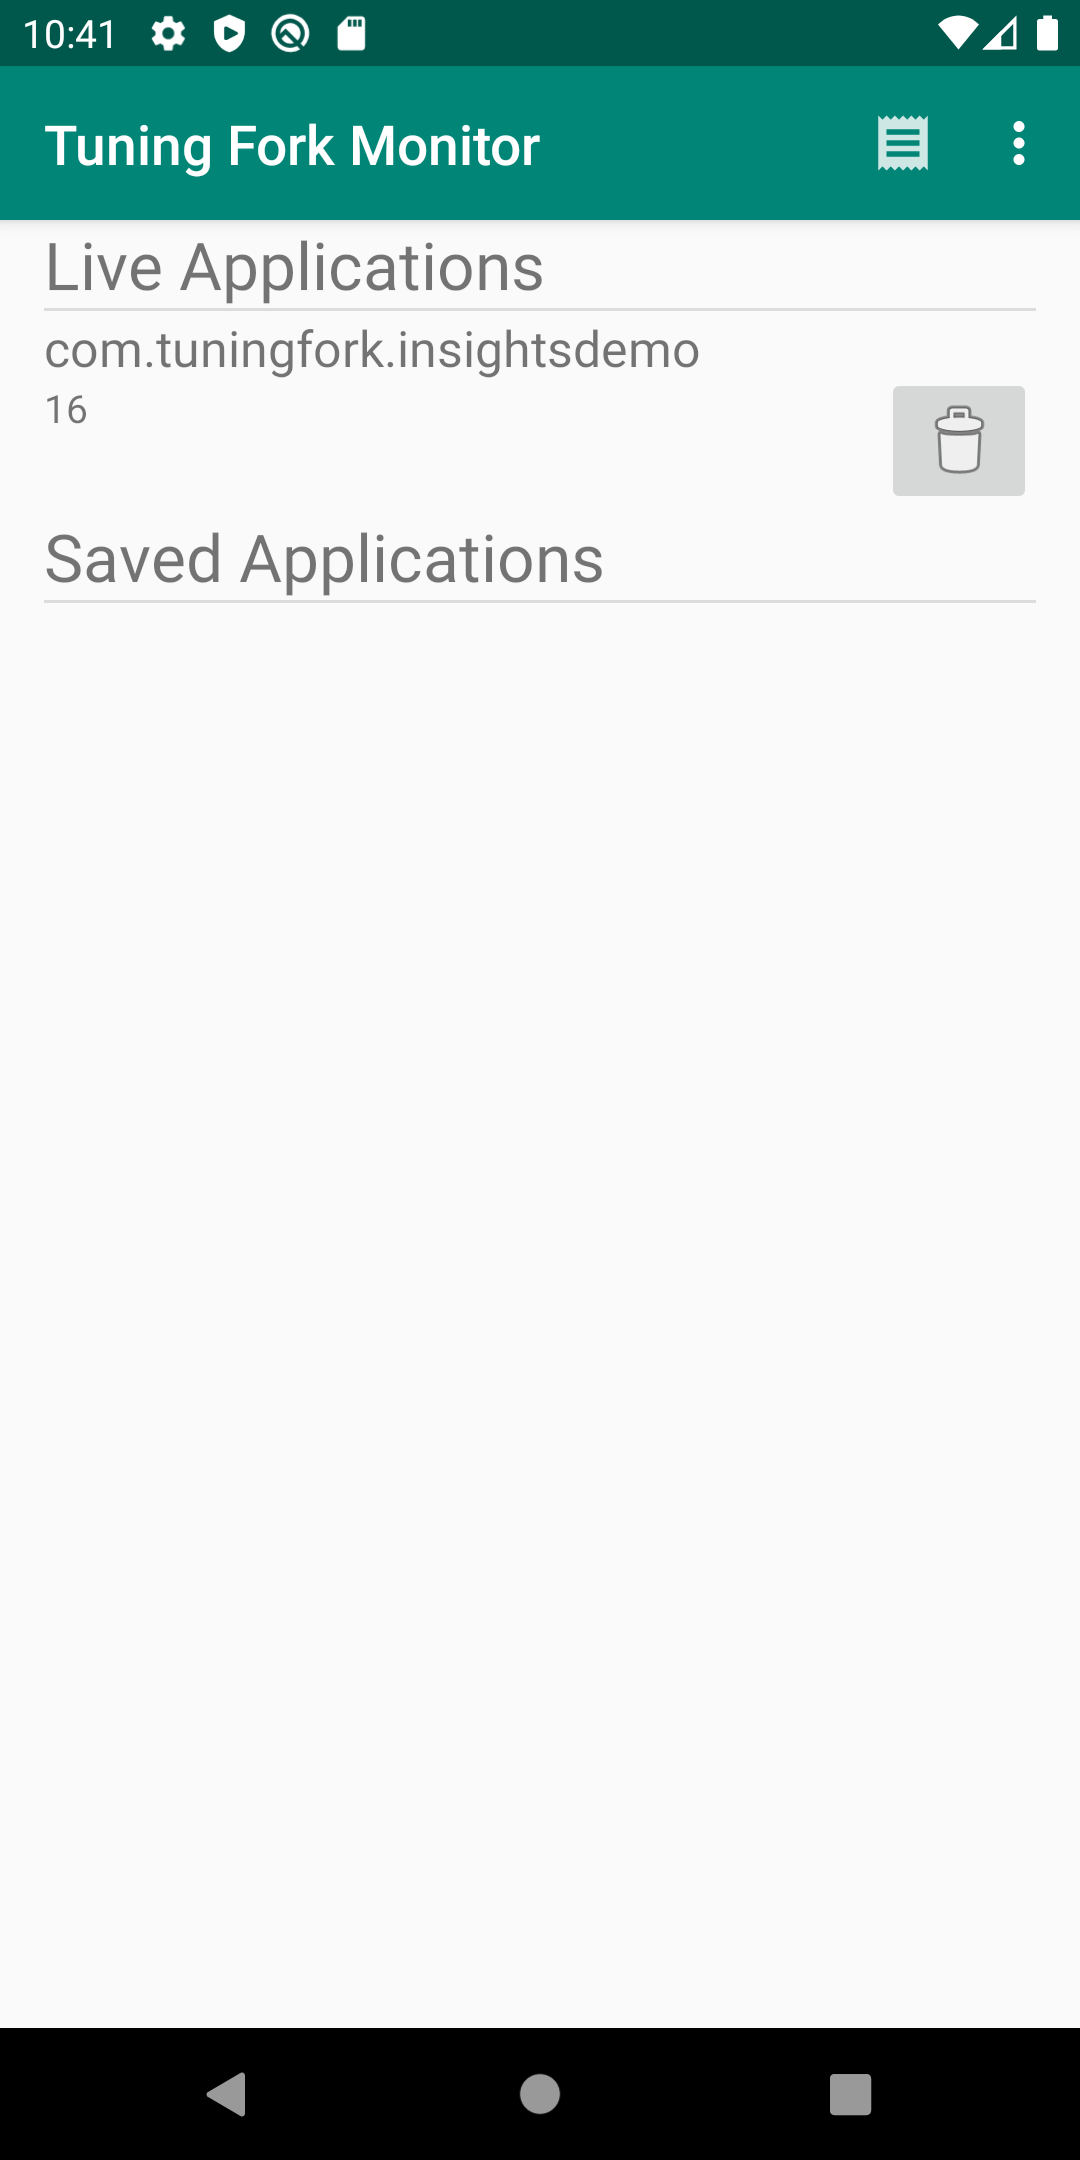
- The demo app appears under Live Applications as
com.tuningfork.insightsdemo 16. Tap this entry to see app details and live telemetry.


Create a release build
Create a release build of the demo app in Android Studio. You upload this build to the Google Play Console to enable frame timing graphs in Android Vitals.
Enable the Android Performance Parameters API in Google Cloud Console. This API enables the app to communicate with Google Play. You don't need to restrict the API key for the demo app.
Make sure to copy your API key from the previous step into the
api_keyfield ingamesdk/samples/tuningfork/insightsdemo/app/src/main/assets/tuningfork/tuningfork_settings.txt.The demo app's application ID is reserved, so can't upload an APK that uses it. Change this ID in the app's
build.gradlefile:applicationId "com.tuningfork.your-unique-identifier"
Clean the project (Build > Clean Project) and refresh the linked C++ projects (Build > Refresh Linked C++ Projects).
Create a signing configuration for release builds.
- Select File > Project Structure > Modules.
- Select the Signing Configs tab.
- Add a new configuration named
release. - Create a keystore for the configuration.
Associate the release signing configuration with the release build variant.
- Select File > Project Structure > Build Variants.
- Select the Build Types tab.
- Select the build type named
release. - In the Signing Config box, select the release configuration variable.
In the Android Studio project window, select the app directory. (This selection enables the menu selection in the next step.)
Change the active build variant to
release(Build > Select Build Variant).Select Build > Build Bundles(s)/APK(s) > Build APK(s). When the build completes, click the locate link to find the release APK.
Create a new application for the demo app in the Google Play Console. For more information, see Upload an app.
Upload the release APK to the Internal test track. For more information, see Prepare & roll out releases.
Run the release build
Select the target device and click Run
 .
You must use the same release APK that you uploaded to the
Google Play Console.
Let the demo app run for awhile. It can take up to 30 minutes for the Google Play Console to start displaying data. Verify that data is uploading to the server by selecting the Info log level in the Logcat window. If you see errors in the log, see Troubleshoot common errors.
... I/TuningFork:Web: Connecting to:
    https://performanceparameters.googleapis.com/v1/applications/com.tuningfork.yourapp/apks/24:uploadTelemetry
... I/TuningFork: Scene loading 30 (true) took 166 ms
... I/TuningFork:Web: Response code: 200
... I/TuningFork:Web: Response message: OK
... I/TuningFork.GE: UPLOAD request returned 200 {}
View the graphs in the Google Play Console
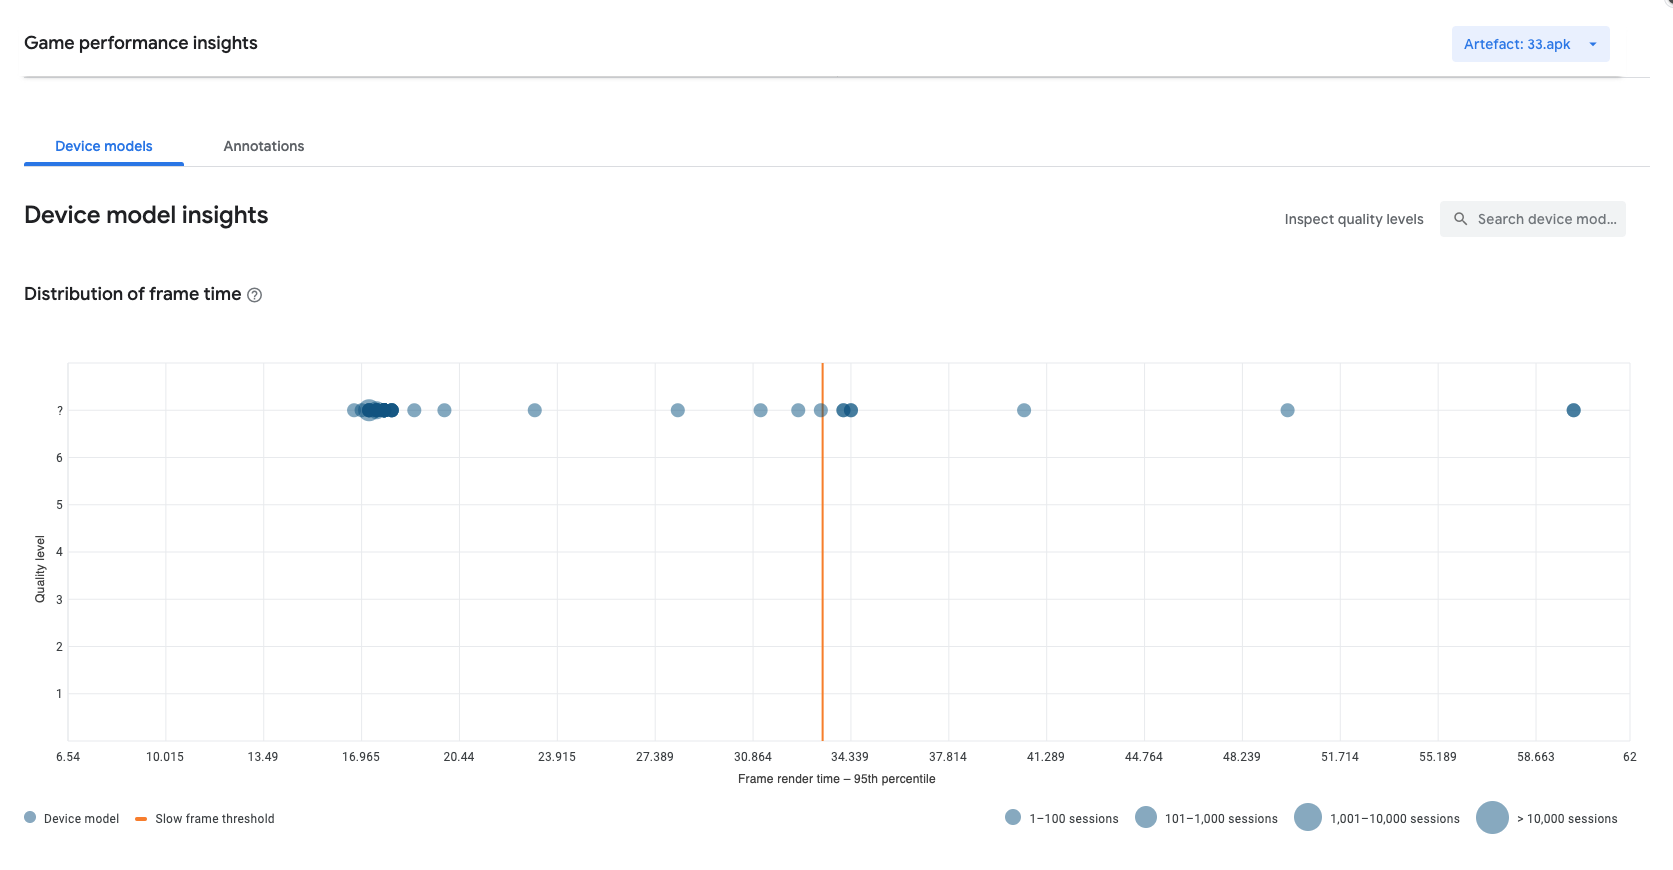
Open the Google Play Console and select the test application. Select Android Vitals > Performance > Insights to see the frame time graph.
 Figure 4. Android vitals graph
You have successfully run an end-to-end test with the Tuning Fork library. You can delete the test app project in the Google Play Console, as it is no longer needed.
